Easy And Advanced Neovim Setup With LunarVim Link to heading
Neovim is a lightweight and powerful text editor that can be a valuable addition to any developers toolbox. Highly configurable and extensible, Neovim can be transformed from a simple text-editor into a full-featured development environment. Configuring Neovim, however, can be a daunting and difficult task. Even maintaining a Neovim configuration can be a frustrating task in itself. This is where LunarVim comes in.
What is LunarVim? Link to heading
LunarVim is a project that aims to provide an easy and powerful configuration for Neovim. Some useful features included in LunarVim by default are:
- Language server provider (lsp) support.
- Automatically installed language servers based on opened file extensions.
- Treesitter support.
- File tree browser.
- Fuzzy searching.
- Multiple default color themes.
Installing LunarVim Link to heading
Dependencies Link to heading
Upon reading the official documentation, we can see that LunarVim has a few dependencies. On Ubuntu, node and npm can be installed by the package manager using the command:
sudo apt install nodejs npm
To install cargo we can use rustup by running the command:
curl --proto '=https' --tlsv1.2 -sSf https://sh.rustup.rs | sh
To avoid any permission issues, we can change the default directory that npm uses to store packages. To change the default directory we can follow the guide in the npm docs.
Neovim Link to heading
LunarVim requires version 0.5+ of Neovim to function. A helper script is included in the LunarVim documentation to quickly install the correct version:
bash <(curl -s https://raw.githubusercontent.com/LunarVim/LunarVim/rolling/utils/installer/install-neovim-from-release)
Installation Link to heading
Once that has been done, we are ready to install LunarVim.
I prefer installing from the rolling branch because the stable branch can feel neglected.
LV_BRANCH=rolling bash <(curl -s https://raw.githubusercontent.com/lunarvim/lunarvim/rolling/utils/installer/install.sh)
After installation we can finally run LunarVim with the command:
lvim
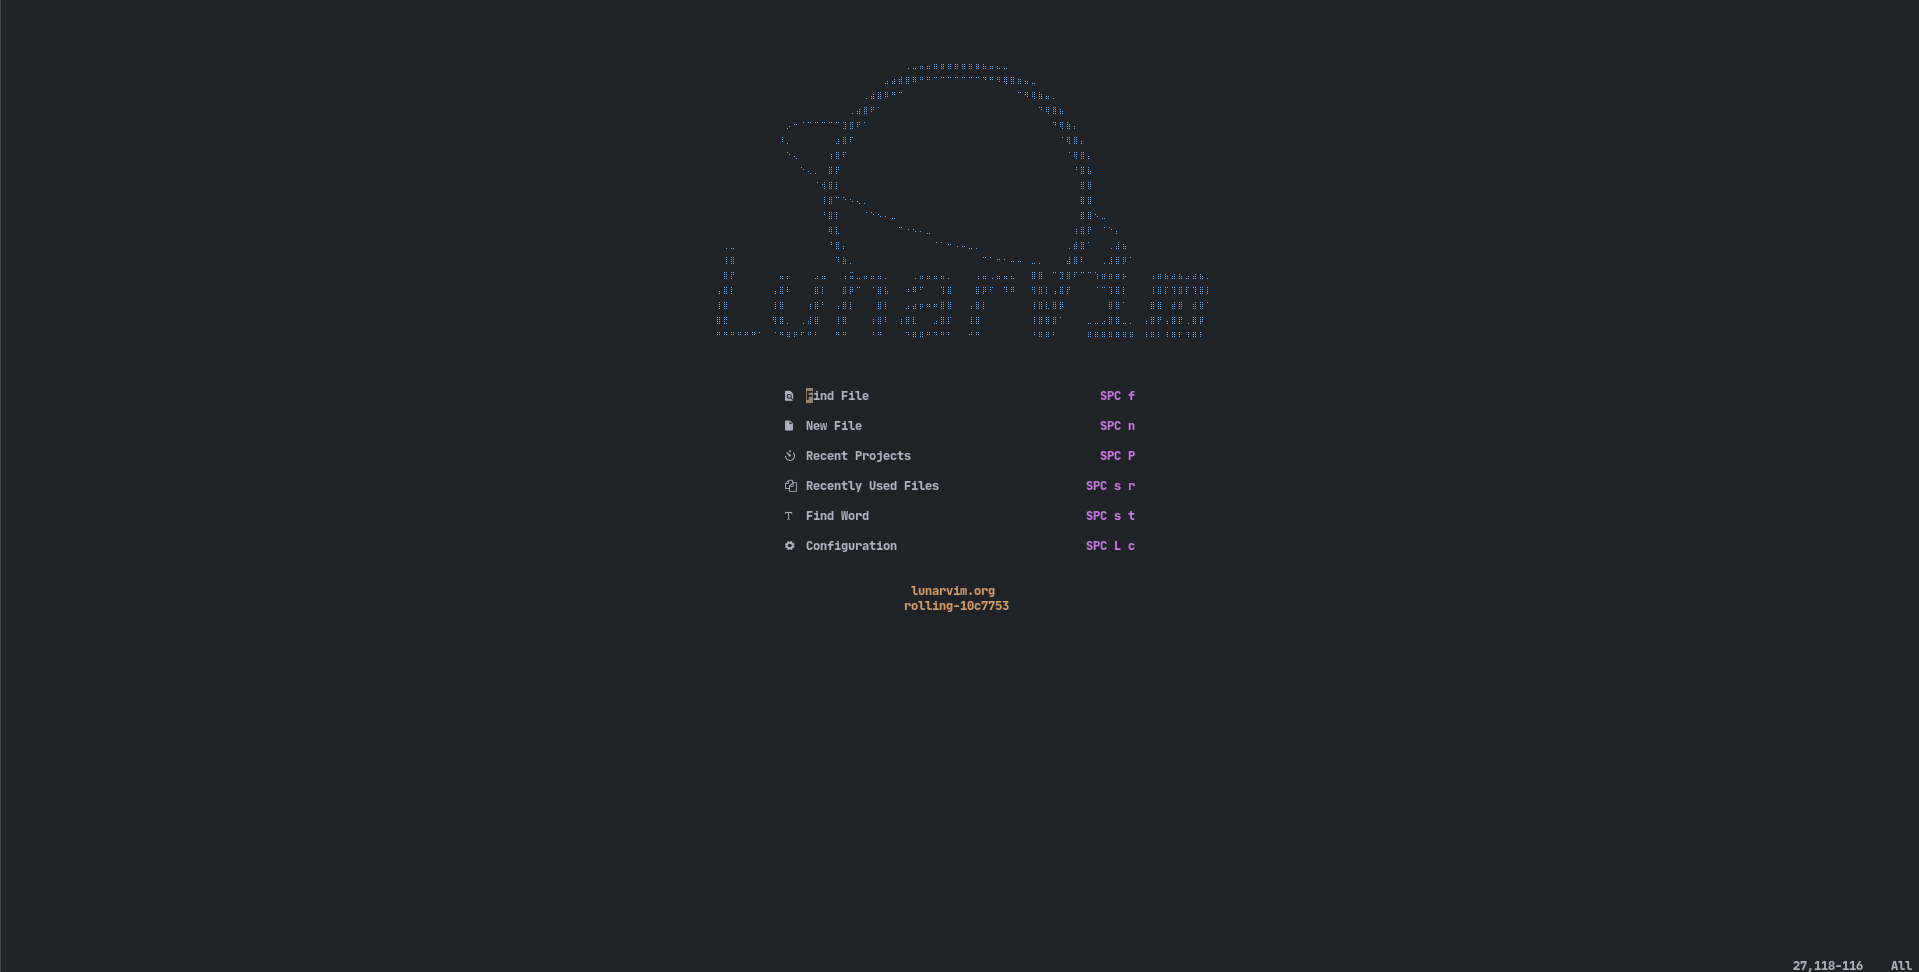
And we are greeted with the default welcome screen.
Configuring LunarVim Link to heading
The default configurations are perfectly usable and capable of serious development right out of the gate. However, with some simple changes we can make it more closely fit our preferences.
If we look in our user configurations files (~/.config/lvim/), we can see that LunarVim has generated a default configuration file. After opening the file, LunarVim automatically installs the language server for lua, providing us with auto-completion and linting which makes working with the configuration file much easier.
Changing the Leader Key and Theme Link to heading
By default LunarVim uses the spacebar as its leader key. I, however, prefer to use the comma key. This is easily done by editing or adding the leader key entry:
lvim.leader = ","
The configuration contains a ‘plugins’ section that has been commented out by default. If we uncomment this section we gain access to a new color theme ’tokyonight’.
 Uncomment the plugins section and modify the theme entry to use tokyonight:
lvim.colorscheme = "tokyonight"
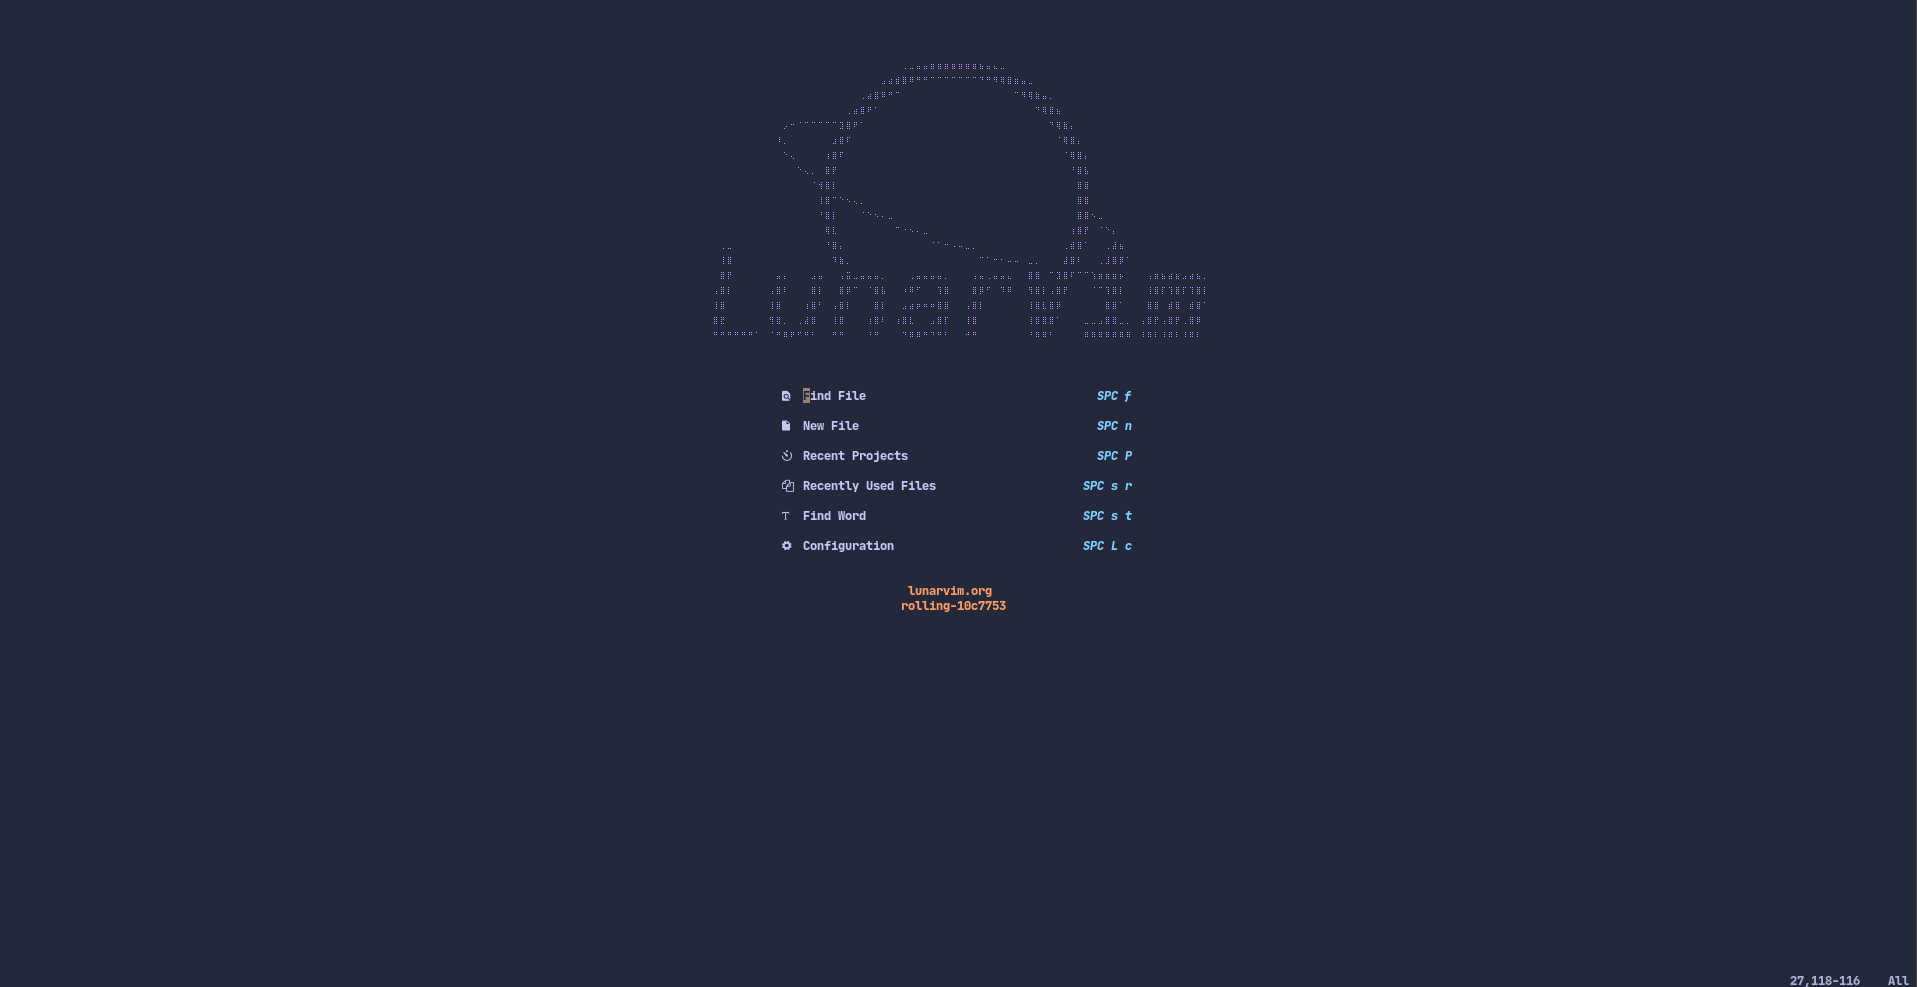
After a restart we can see our new theme.
Installing Plugins Link to heading
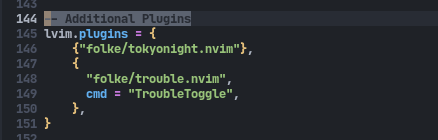
As you can probably tell, installing plugins can be as simple as adding the repository name to the lvim.plugins entry. Let try adding a new plugin that will give us access to the dracula theme:
lvim.plugins = {
    {"folke/tokyonight.nvim"},
    {"dracula/vim"},
    {
      "folke/trouble.nvim",
      cmd = "TroubleToggle",
    },
}
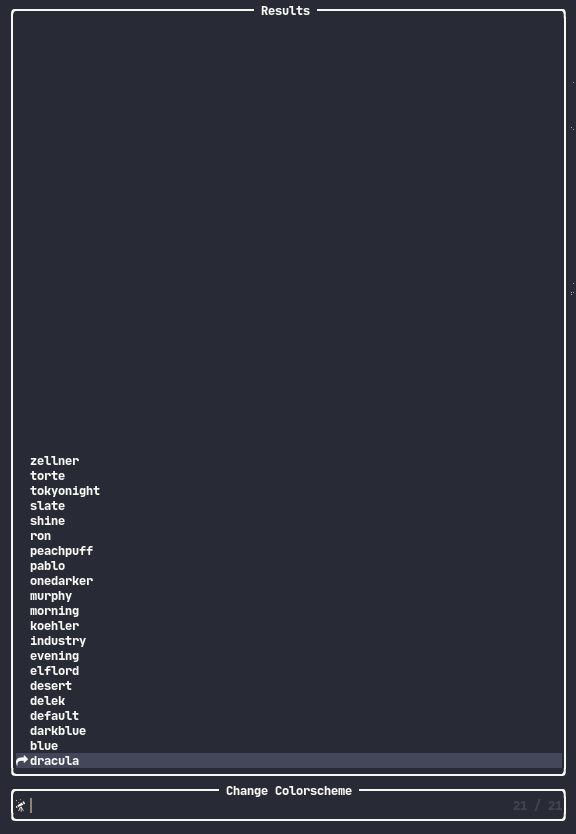
If the plugins do not automatically install, we can install them manually by pressing colon(’:’) and running the command:
PackerInstall
Upon restart we can see our new theme in the list.
Reinstall Script Link to heading
LunarVim has a tendency to break on occasion. A reinstallation seems to always fix these problems so I like to keep a script to handle the reinstallation and configuration file management.
#!/bin/bash

# Unstow dotfiles
echo 'Unstowing dotfiles...'
cd ~/.dotfiles && stow --delete lvim

# Uninstall
echo 'Running uninstall script...'
bash <(curl -s https://raw.githubusercontent.com/lunarvim/lunarvim/master/utils/installer/uninstall.sh)

# Install neovim
echo 'Installing neovim...'
bash <(curl -s https://raw.githubusercontent.com/LunarVim/LunarVim/rolling/utils/installer/install-neovim-from-release)

# Install lunarvim
echo 'Installing lunarvim...'
LV_BRANCH=rolling bash <(curl -s https://raw.githubusercontent.com/lunarvim/lunarvim/rolling/utils/installer/install.sh)

# Stow dotfiles
echo 'Stowing dotfiles...'
rm -rf ~/.config/lvim
cd ~/.dotfiles && stow lvim
Conclusion Link to heading
LunarVim isn’t the only project that maintains a sophisticated Neovim configuration. It is, however, actively developed and comes with many sane defaults which most people put into their Neovim configurations anyway. It can be a great option for Neovim beginners or seasoned veterans who are tired of maintaining a fragile and frustrating configuration file. LunarVim can also be used outside of development. This article was written using LunarVim with full spell-checking and grammar-checking support.
 My LunarVim and other configurations can be found on my gitlab.